What is an Anamorphic lens?
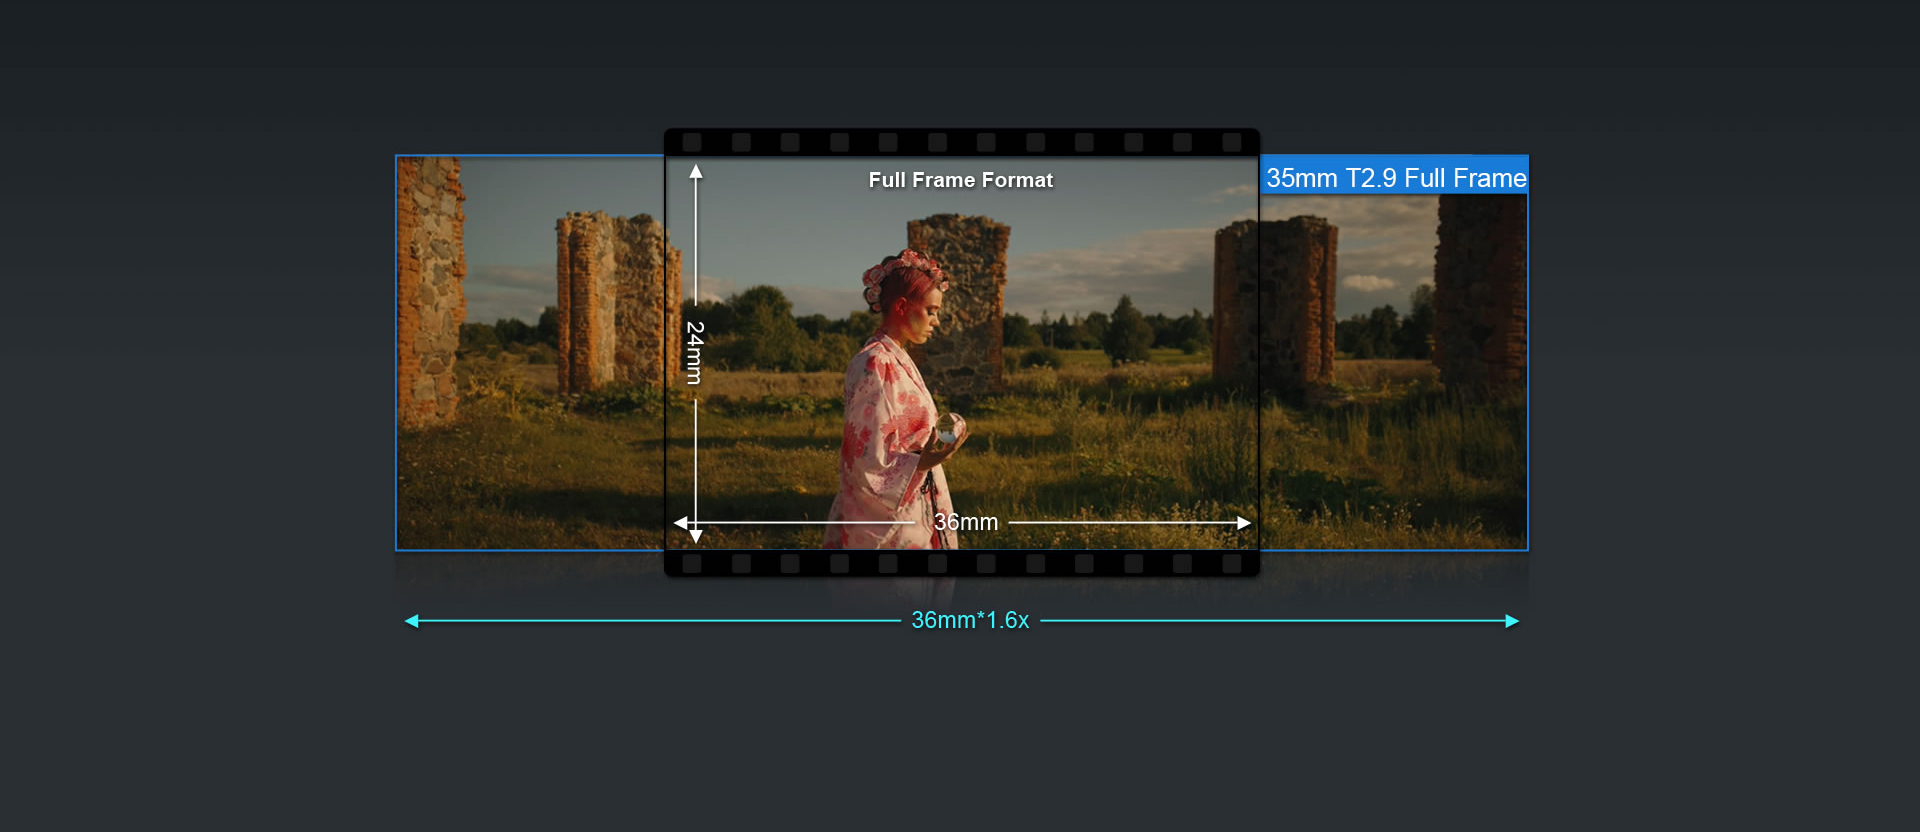
An anamorphic lens is designed with additional glass elements that squeeze the image horizontally, allowing filmmakers to capture a wider field of view than the film or digital sensor would ordinarily allow.
In production there are typically two classes of lenses — anamorphic and spherical. Spherical lenses are the most common and project images onto a camera’s film or digital sensor without affecting their aspect ratio.
Anamorphic lenses expand the frame horizontally, accommodate more shooting width, and can output shots with a wide-format specification ratio without cropping. This has a significant advantage in film. It allows filmmakers to achieve wide aspect ratios without sacrificing resolution via cropping, which would typically have to be done when using a spherical lens to achieve widescreen aspect ratios.
Anamorphic lenses also have distinct features which provide a unique look on screen. These include oval bokeh, light flares, greater depth of field and the widescreen ratio.
In order to correctly view and edit the Anamorphic footage firstly you will need to 'Desqueeze' the footage. Below are some simple steps in the most common editing platforms to achieve the 'Desqueeze'.
1. DaVinci Resolve
- Place footage on a new timeline with the chosen aspect ratio and resolution.
- Select anamorphic clips and Navigate to the inspector in the top right of the Edit page.
- Under transform, ensure that the link symbol between Zoom X and Zoom Y is deselected.
- Stretch the Zoom X by the same ratio as your anamorphic lens (1.6x for Full frame and 1.33x for Super35, APSC, and MFT).
- This will ensure the footage looks correct, then transform the footage to fill the frame of your chosen aspect ratio and resolution.
2. Premiere Pro
- Place footage on a new timeline with the chosen aspect ratio and resolution.
- Select an anamorphic clip and Navigate to Effect Controls, Motion, and Scale.
- Under scale, make sure that the uniform scale check box is unticked.
- Stretch the scale width by the same ratio of your anamorphic lens (160% for Full Frame and 133% for Super35, APSC, and MFT).
- This will ensure the footage looks correct, then transform the footage to fill the frame of your chosen aspect ratio and resolution.
3. Final Cut Pro
- Place footage on a new timeline with the chosen aspect ratio and resolution.
- Select anamorphic clips and Navigate to the inspector at the top right of the page.
- Under transform, Stretch the Scale X by the same ratio as your anamorphic lens (160% for Full frame and 133% for Super35, APSC, and MFT).
- This will ensure the footage looks correct, then transform the footage to fill the frame of your chosen aspect ratio and resolution.

